Planting instructions
Thank you for purchasing plants from DNA Gardens! Follow the instructions for planting success.
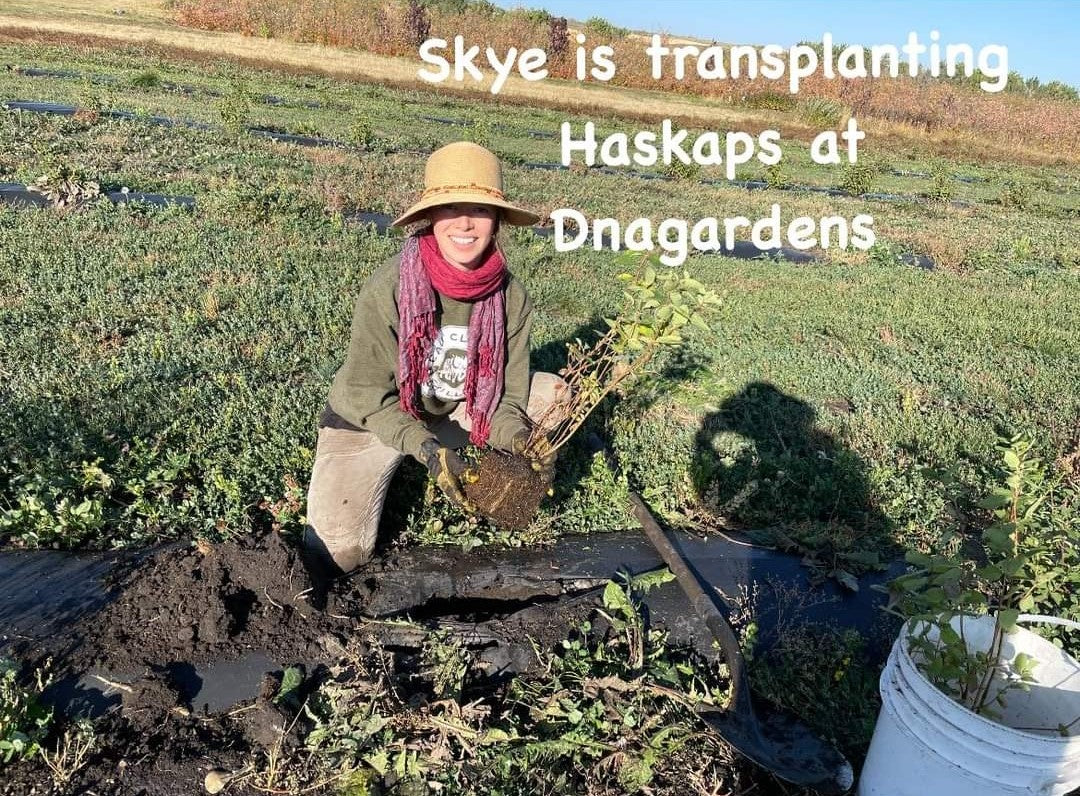
- Dig a hole at least twice as big as the pot that your plant comes in. Dig the hole deep enough to cover the plant with 2” of soil and still have a slight depression.
- If the hole is dry add water and observe the drainage of the hole. This will help decide how much water should be added in the future.
- Take the plant out of the pot. If your plant is root bound in the pot (roots circling the pot) Cut the roots of your plants at 3:00 o’clock, 6:00 o’clock and 9:00 o’clock. Spread the roots slightly and place over a mound of soil in the hole.
- Amend the native soil by mixing top soil with 50% or less of good top soil.
- Apply a root fertilizer. Phosphorus will help the roots grow.
- Water thoroughly immediately after planting and allow it to absorb. Water deeply but not daily.
- It is best to do a deep soak ever 2-3 days depending on weather conditions and drainage of the site. Possibly weekly if the weather is mild and drainage is poor. Water well for about a month and slowly taper off the watering as the plant establishes roots.
- Mulch 2-4” with any of the following after planting and watering in; compost, leaf mold, vermiculture, aged manure or woodchips. This will add organic matter to the soil, retain moisture, invite soil microbiota and help with soil compaction as well as prevent certain pests and disease. Leave a “volcano” around any woody stems or trunks when mulching to prevent bark rot.
If planting in hard thick clay amend the soil ahead of planting. You can do this by adding top soil, compost, mulch or manure and digging it in or letting it build overtime. Microbiota will be attracted to the organic matter and they will do the tough work of breaking up the clay for you!

